Markgraf von Hattendorf has hired you to put an end to the recent brutal raids on his hinterland settlements.
With that scenario pitch, my local group started preparing for Nightwatch, a cooperative skirmish monster hunting wargame. We have played a couple scenarios before, but this will be our first full seven-game “long hunt.”
The hunting ground
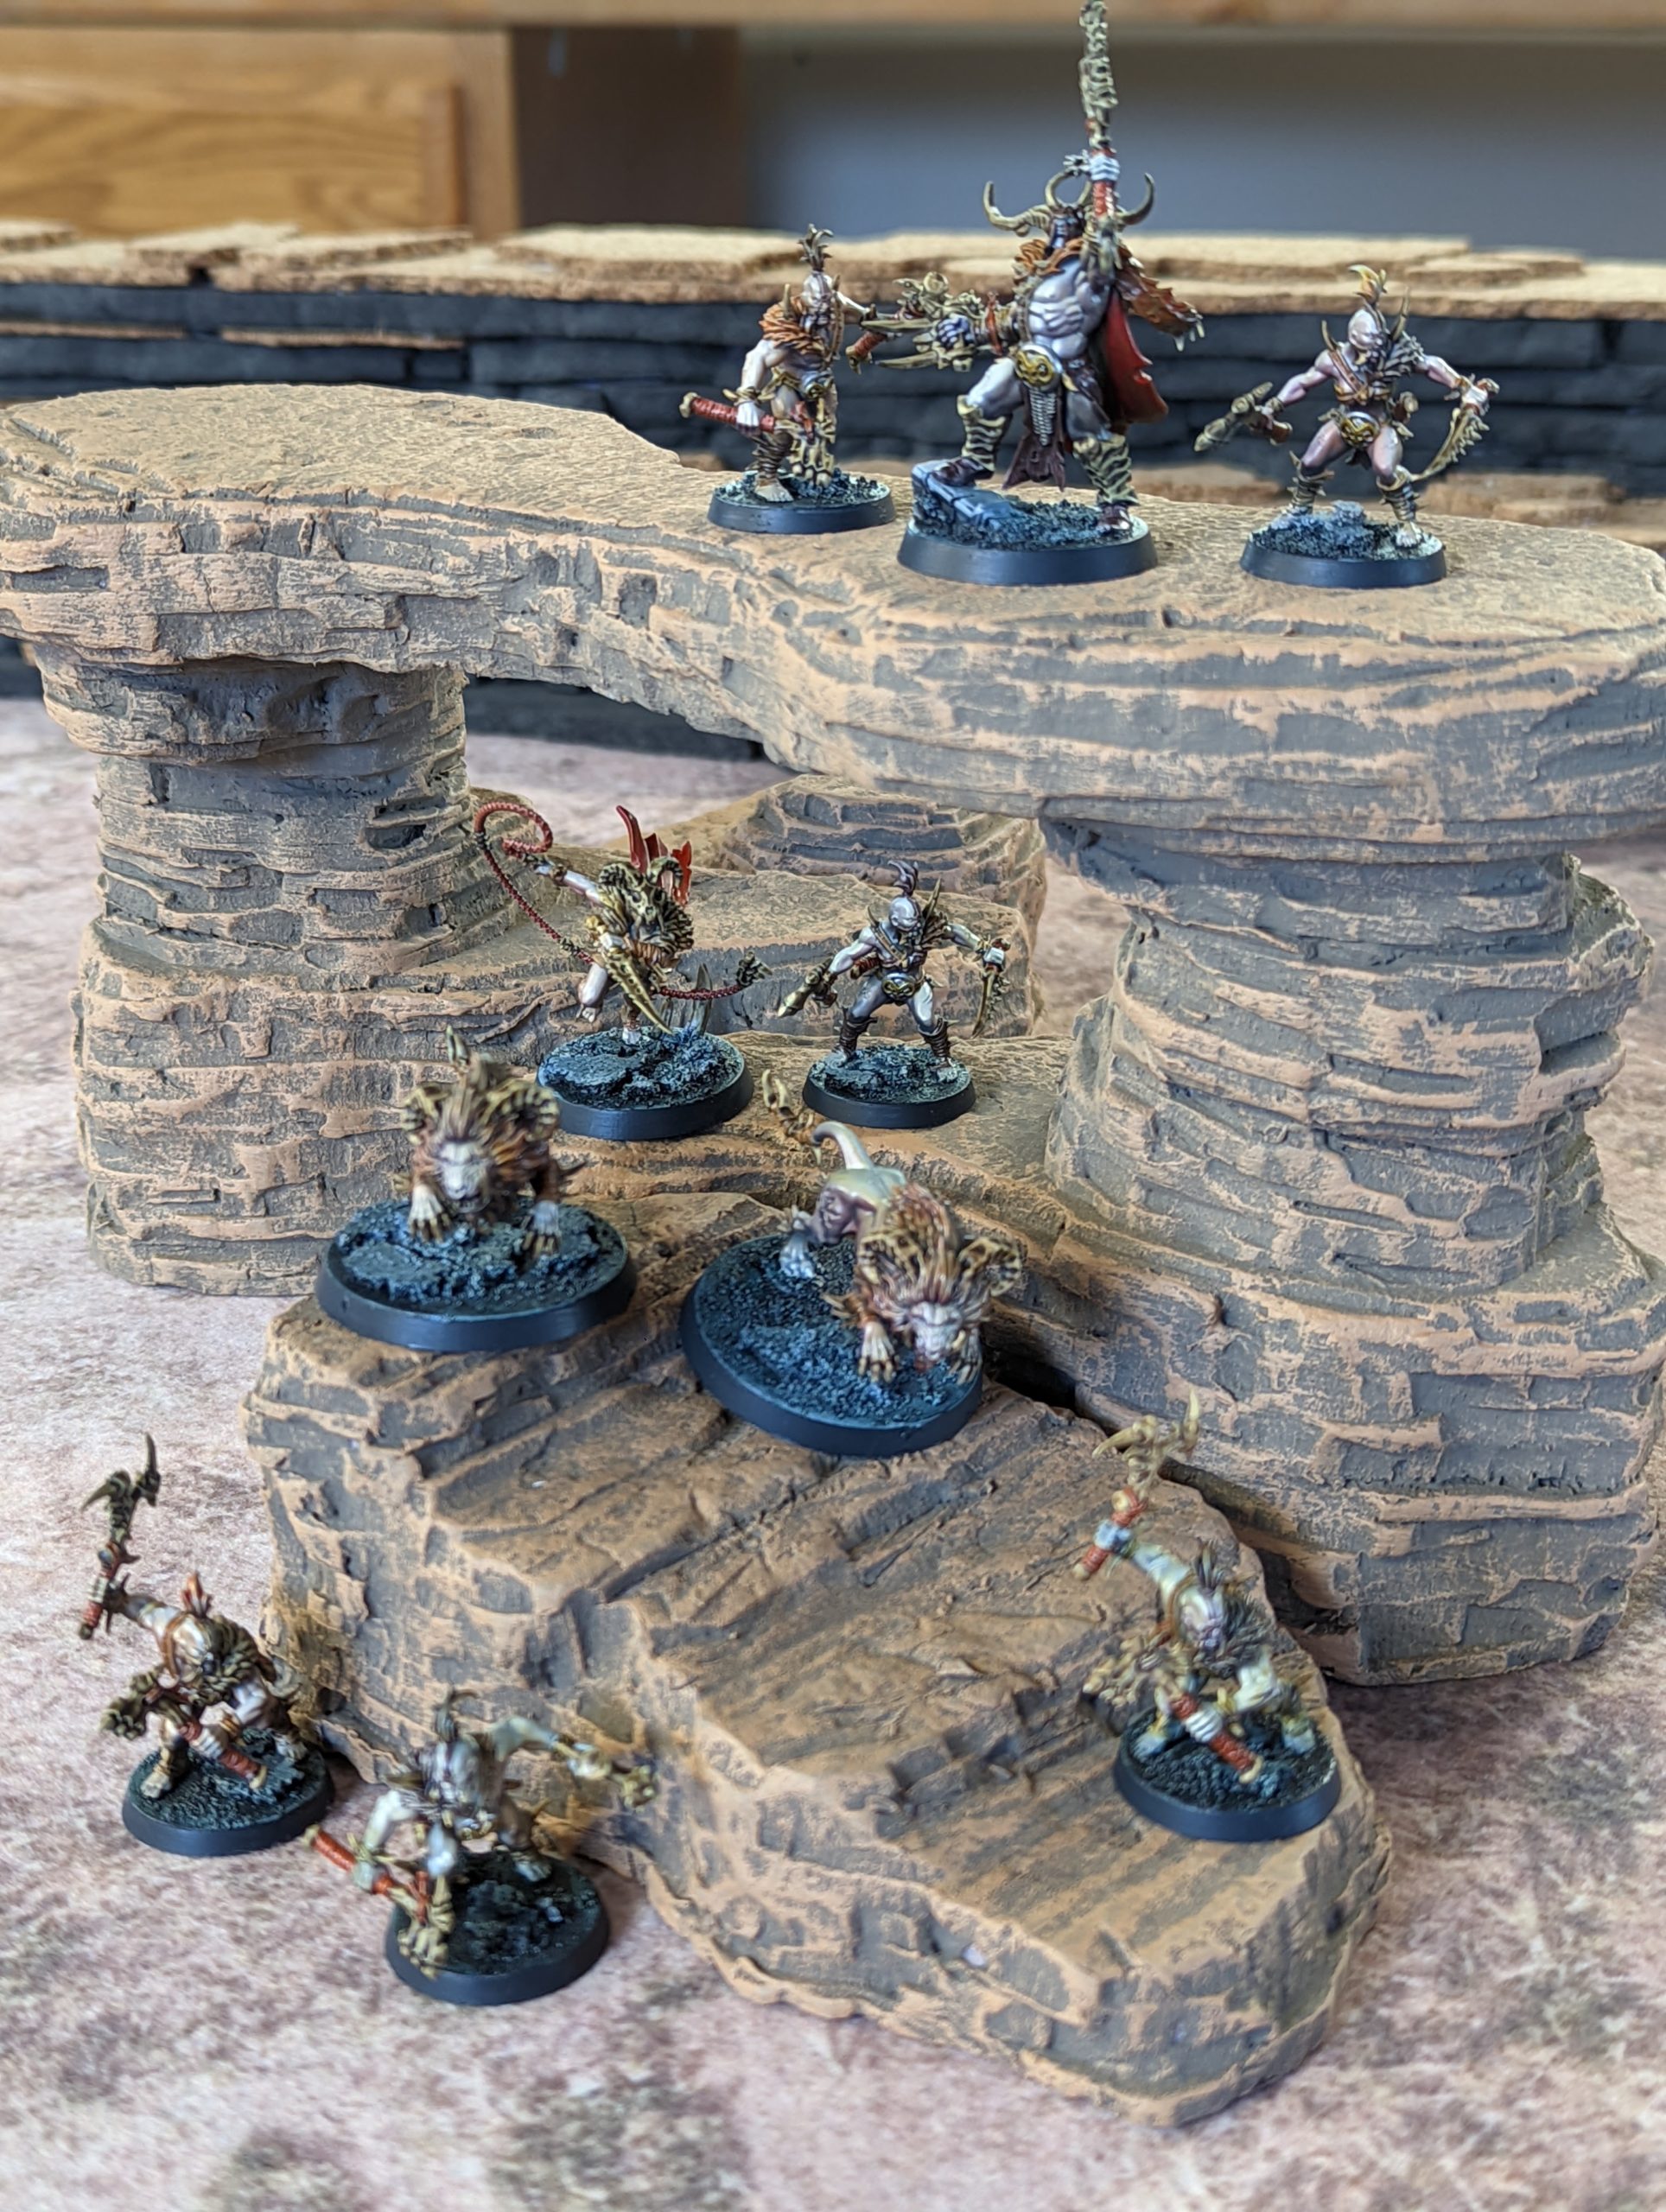
We decided to set our hunt in a rocky high desert. Excited to expand my nascent desert terrain collection, I hosted a terrain-building gathering. We carved a table worth of foam landforms and also built thematic scatter terrain.

Like with Frostgrave, we committed to a standard color for our paint schemes and shared a bucket of house paint. After buying a gallon of “Adobe Sunset” I decided it was too light for a base coat. I still had the “Black Chiffon” we used for Frostgrave so I tested a 50/50 mix of the two, plus a healthy dollop of spackle, making a primer/basecoat/filler sludge.

Once that dried, I overbrushed with straight Adobe Sunset. I had planned to do additional drybrushing and an ink wash, but I like this result so much I’m putting those steps on hold. I want to smash out all the terrain to this basic standard.

These pieces have already seen action in a game of Age of Fantasy, and as a display backdrop. What a feeling!


Canyon walls
I want a canyon to appear in our campaign. Nightwatch is played on a three-foot square space, so I cut a few three-foot lengths of two-inch XPS, and stacked them with an offset on one side.

After the tedium of carving rock formation textures with a utility knife, I knew I didn’t want to apply that method to 288 square inches more. I set the canyon walls aside to consider alternative methods. The next morning I noticed I had placed them next to a box of leftover scrap pieces from my Epicalypse 40K turbo terrain project. I bet those would glue on really nicely…

After a few hours of tearing EVA foam strips and gluing them down, I had a decent structure for gaming.

I realized the back side could also serve as a sheer cliff face. Since this method goes reasonably fast, I decided to complete the other side too.

Around that time I first started wondering where I would store these things. It dawned on me they could double as model display shelves. I will start shopping for some wall brackets to rest them on.
Now I am filling gaps and blending edges with terrarium sand, and soon I will be ready to apply brown sludge. With the tricks I learned from this piece, I think I will finish the other one even faster. I can’t wait to see these beauties in action!
Canyon Walls Update
I finished one canyon wall and dug up spare shelf brackets from my garage. Witness the majesty of pretend nature!


Mission updates
As we play missions in this hunt I will update with links to subsequent posts.
Your comment sustains me