Inspiration
Marco Frisoni mini painting tutorials get me excited to sit down and try things. When he tossed out a “this is already quite interesting” remark halfway through this week’s video on oil painting, I couldn’t help but think “you’re right Marco, I should speed paint an Imperial Guard army like this!”
I’ve been orbiting the idea of rebooting my IG army for Warhammer 40k 9th edition, so I had some Anvil Digital files waiting their turn. I printed four and got started with color test models.
Basic idea
I wanted to see if I could get away with a three-step process for mass producing guardsmen:
- Spray acrylic primer/basecoat
- Cover with oil paint
- Remove some of the oil paint
I want to use airbrush tricks, transparency, and color theory to produce decent tabletop-quality models with little effort.
Materials
Since I’ve been a Frisoniac for a while now, I have been using Molotow One4All as my primer/basecoat since last year. I have a big bottle of black and I love it. Just last week I received an order of several other colors from the same line. Time to give them a try!
For the airbrushed basecoats, I used Petrol, Purple Violet, Sahara Beige, and Liquitex Titanium White ink.

I used Windsor and Newton Winton Oil paints for steps 2 and 3. I wanted a low-chroma appearance, so I mixed a Payne’s Gray from French Ultramarine and Burnt Sienna, and an olive drab from Sap Green with just a touch of Magenta. I also used Ivory Black and Burnt Umber here and there. A few other colors and mixes I ended up not using, or using and not liking (such as the Pthalo Blue / Burnt Sienna mix).

The experiment
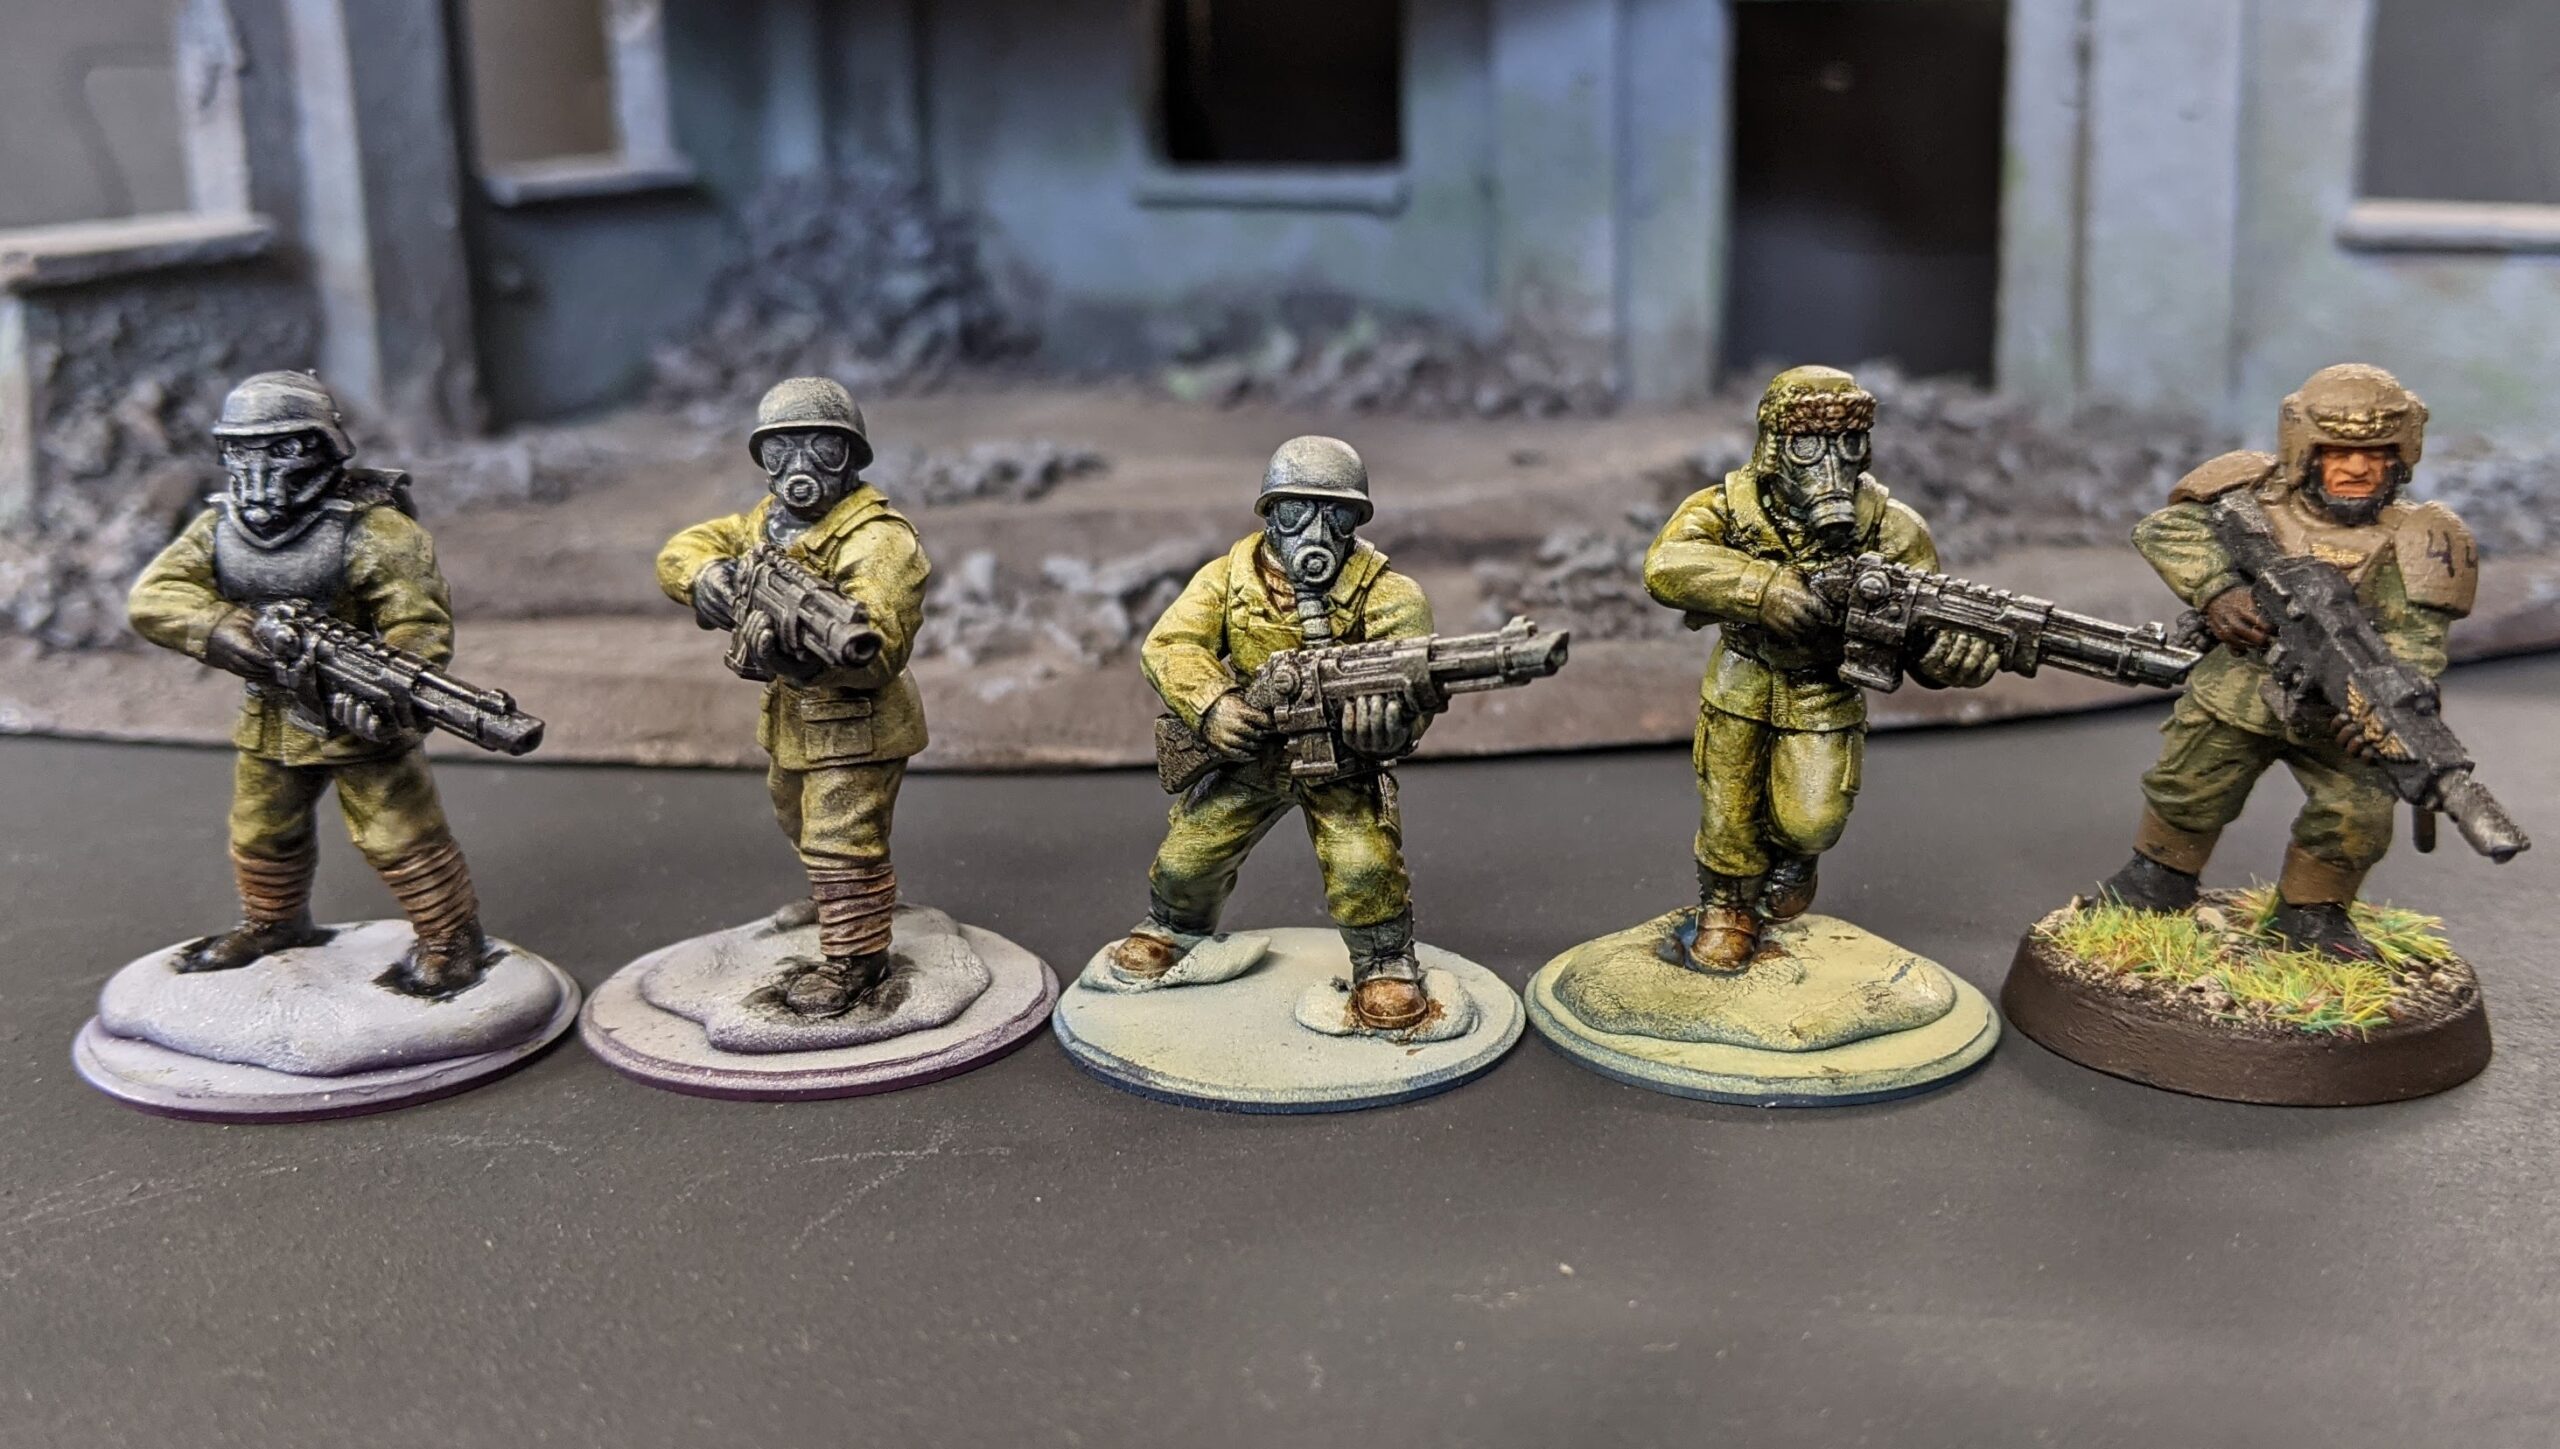
Step 1. I sprayed two of my test models with a basecoat of Petrol, and two with a basecoat of Purple Violet. Then, I took one of each and sprayed from above with Sahara Beige. The remaining two I sprayed from above with Titanium White. A promising start.

Step 2. Next, I slapped on oil paints. I tried different combinations of gray and olive drab on different elements of each figure, with burnt umber and black on things like weapons and boots. The fellow on the right in these pictures got a warm gray and a cold gray, which I hoped would look good together. I didn’t take a picture of this step, but they looked horrible as expected.
Step 3. After letting the paint set a while, I gently wiped away excess oil paint from the high parts using make-up sponges and Q-tips. Results were mixed.

I liked the two on the left enough to highlight with a little Titanium White. I think these will do nicely.

The extra highlight only took a few minutes, but if I paint 100 of these, that’s 5 hours of extra work. I think I will try one more iteration on a whole squad, something like this:
- Spray half with Petrol and half with Purple Violet
- Spray all generously from above with Sahara Beige
- Spray all sparingly from above with Titanium White
- Apply and remove oils: modified Sap Green, homemade Payne’s Gray, Ivory Black, and Burnt Umber
I suspect I will get best results by undercoating with purple for models that will have more gray parts, and undercoating petrol for models that will have fewer gray parts. I guess I’ll prove or disprove that hunch in the next test.
UPDATE: I cleaned the “failed” test models with white spirit and then repeated the base coats. After a second round of oil paints they came out nicely. Next up I need to match the basing style of the IG models I already own.

Ultimately I want to paint in batches of six, with a cycle time of one hour per batch.

Your comment sustains me